Showing posts with label Trudy Golley. Show all posts

Sunday, August 4, 2013

LOTS TO SHARE


AS I haven’t blogged for a while I have a headful of things I’d love to talk about.  How about I start with the most recent, and work my way back.
First of all, the Mud Colony potters are talking about their favourite tools.  So these are my standbys that I wouldn't be without.  Note my name on everything - it is too easy to lose tools in a teaching situation.  

A brass tube about 12cmm wide for making holes in things, 
A handmade bevelling tool, courtesy of my friend Trudy Golley of Red Deer College, Alberta.  
A scoring tool, just sewing needles set into drilled holes in a piece of wood - given me by Britte Stolle Jakob.
A soft red kidney from Mud Tools - any tool by Mud Tools gets on my list.  
My spirit level used for all manner of reasons, 
and finally a very sharp and pointed tool I inherited from JulietteVerdel Kesener, a Dutch potter who moved back home from WA and who gave me her studio contents when I bought her little kiln.  


Last week  work ie Central Institute of Technology, Perth, Western Australia (CIT) held their annual Advanced Diploma Visual Art & Jewellery Design Fundraising Auction.  I’ve missed the last few due to other commitments and now I see why it is such a memorable and desirable event to attend.  The auction took place at Gallery Central, ie the larger TAFE gallery on Aberdeen Street, where a pink shipping container intersects the building’s entrance - quite the landmark.  The planning and admin was handled so well I have to take my hat off to the level of commitment of the 
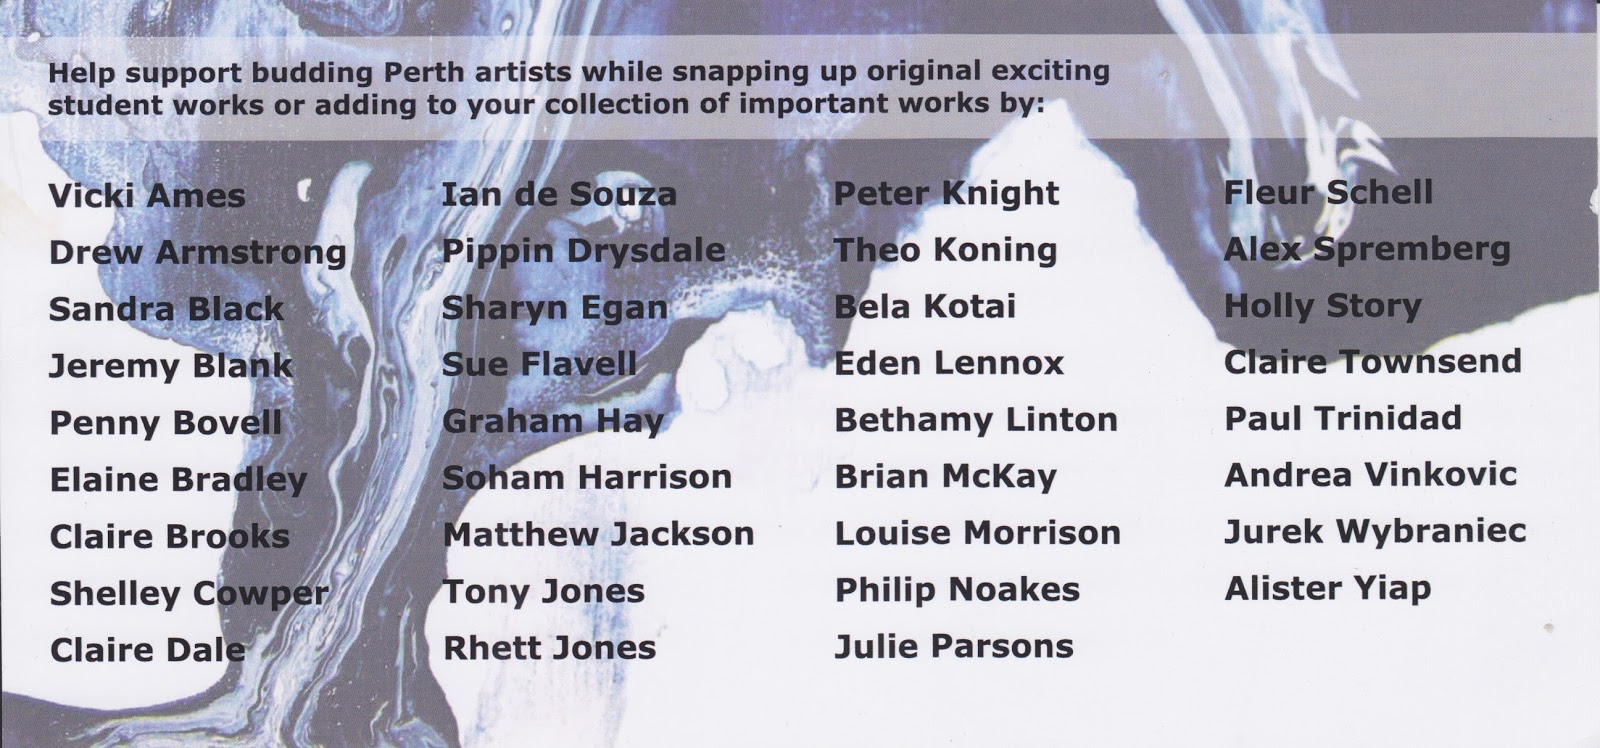
students who organized the whole thin and tadaa what was up for auction, student work – for definite, work by their lecturers and support staff at CIT, and donations by former staff, students and supportive parties.  Supportive parties?  I mean people like Master Artist Pippin Drysdale donated FOUR of her pieces – that kind of woke people up.  All sold rapidly.  Tony Jones, Sculptor, Sandra Black porcelain master, Fleur Schell of porcelain story telling fame ...  I’ll show you to invitation to convey the quality of the donors. Their generosity was incredible, so supportive and community minded, but I can't include links to all of them.


And yes, I bought!  It seems to be the season for it.  It is how I like to shop, I don’t go hunting, that part bores me, I wait till the season is right and the cream of things come my way, and it did. 
I got really lucky and bought a student painting and a lidded porcelain jar, about 20 cm tall by Sandra Black with an exquisite crackle glaze over it.  I mean it is to DROOL over.  I have to find a purpose for it so it can truly be used and not just looked at.  Yes Sandra is a great pal of mine and I’d go so far as to refer to her as an informal mentor.  I have at least five or more of her pieces.  My Facebook friends in the clay world – you know who you are – weren’t sure I really got so lucky so I had to photograph the latest piece for them.  I call it clay porn – and that’s okay!

This is the weekend of the annual Fine Art at Hale show, beginning with a lovely cocktail party preview and open to the public for two days after that.  I am heading off soon to collect any work that didn’t sell, a pal said I scored lots of red dots so that’s cool, and to pick up my second Amanda Shelsher piece.  I will share an image of that later once I have it home.  I have to stop now, no money left! Well, until the next time.  Please join me now at the Mud Colony Blog to see what else is happening in clay.  

Thursday, September 6, 2012

CLAY POWER

In the Cert IV class at CIT Ceramics Studio which focuses on investigating and experimenting, we've zipped through a really busy program of skill sets this term.  We've done handmade teapots, boxes and now we are pushing on with the subject of wall art.  Last week we had a short slide show via my iPad and the digital projector (so easy) to illustrate the diverse possibilities, looking at artists in working clay and other media.  Then we got started on our designs and clay models.  The purpose of this wall art project is to teach the students how to make a simple model from which to make a one piece plaster drop mould and then go on to make multiple copies to arrange as wall art.
Mel is working on a cluster form
At first I thought the students weren't keen on the idea of wall art and all the processes involved, but that gave way quickly to some enthusiastic sketching and planning.

 Zach was the first to get his model ready and out into the plaster area to form the mould.  Here you can see he's built up cottle walls with bits of MDF and recycled clay to hold the retaining walls in place.  He was at home with mixing plaster having used it previously in a sculpture unit and had worked in the trade at some point.  His clay model was not very big and the walls were firm enough to resist the pressure of  the plaster as we poured it in.  We were in and out of the outdoor plaster area in ten minutes while the sculpture class slathered plaster onto their self portraits behind us.  Then the rest of our class noted what Zach had done and followed suite with little direction from me.
One great thing was that the students were passing on the still soft clay with plaster in it for shoring up their subsequent moulds and the MDF walls were leftovers from the workshop area so the wastage was very low.  Meanwhile back in the classroom the students were working away on their models ...


Tanh, who has the concentration and determination of an athlete and works rapidly, was finessing her two cylinder model with a cool faceted surface texture, we may have to address some fine undercuts near the base though. 
Actually here is a little image transfer tip we used in class.  Rowan, below, had drawn his character in his visual diary and needed to translate it into clay.  We went over his drawing with a pen we'd tested to ensure the ink was water soluble.  We tried a couple of pens out to find the right one.  NB Must buy more!  
First we rolled two slabs of clay and placed them on top of each other, with no slip or water between them, the lower slab is about twice as thick as the top one.  When he pressed the image face down onto the top surface of the 'just rolled' slab of clay, the image transferred easily, a mirror image of the original  We'd also tested this simple transfer technique out with a printed 'inkjet' image earlier in the class to good effect.  For a curved surface such as a cylinder you'd just trim the paper to fit the curve.  

 
We used the print as a guide for cutting around it through the top layer of clay with a sharp knife and a with bevelled edge all round.  Some of the background layer will be kept as a foundation for the 2D image to enhance the sense of dimensionality.  The bevelled edge is to ensure we have no undercuts for when we make the mould.  Next week Rowan will be softening the edges of his clay character with his fingertips and brushing a small wet paintbrush into the cut edges to meld the two layers.  

Of course the ink lines that were transferred will disappear in the firing as the ink has no material content to withstand such temperatures but this transfer system works as a guide for carving, sgraffito or for painting on oxide or under glaze decoration.  I learnt most of these methods from Trudy Golley, Head of Ceramics at Red Deer College in Alberta, Canada while I was at ANU.   No photographic models were needed for this blog posting, I just happen to have a very good looking class.  

You may have learnt something new here or been enthused to try something out as a result of reading my blog, if so I would LOVE to get some comments from you.  Want more?  Pop on over to the Mud Colony Blog, we link our blogs up to Mud Colony between every Thursday and Sunday night - and there may be heaps more clay stuff there for you to enjoy.